1. Setup Requirements
- 1. Apache 2.2 or 2.4 with mod_rewrite module (or) Nginx >= 1.8. 2. PHP 5.5 or later version. PHP 7.0 also supported. 3. Required PHP-Modules – PDO/MySQL, mbstring, mcrypt, mhash, SimpleXML, curl, xsl, gd, ImageMagick 6.3.7 (or later) or both, soap, intl, openssl
$ sudo apt install apache2 $ sudo apt install mysql-server $ sudo apt install php libapache2-mod-php php-mysql php-dom php-simplexml $ sudo apt install php-curl php-intl php-xsl php-mbstring php-zip php-xml
2. Download Magento 2
Magento is available in 2 editions Enterprise and Community. In this tutorial we are using community edition for setup. Download Magento2 community edition from its official website.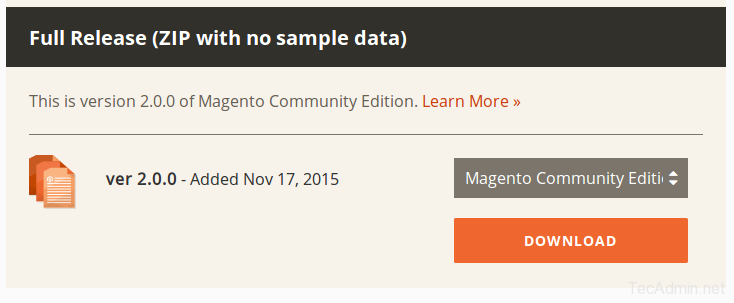
After downloading archive file, extract it under website document root. So we can access directly from web browser.
$ cd /var/www/html/magento2 $ tar xjf ~/Downloads/Magento-CE-*.tar.bz2 $ chown -R www-data.www-data /var/www/html/magento2 $ chmod -R 755 /var/www/html/magento2
3. Create Database
Now login to your mysql server with admin privileges and create a database and user for new magento 2 installation.$ mysql -u root -p mysql> CREATE DATABASE magento2_db; mysql> GRANT ALL ON magento2_db.* TO magento2_usr@'localhost' IDENTIFIED BY 'password'; mysql> FLUSH PRIVILEGES; mysql> quit
4. Start Web Installer
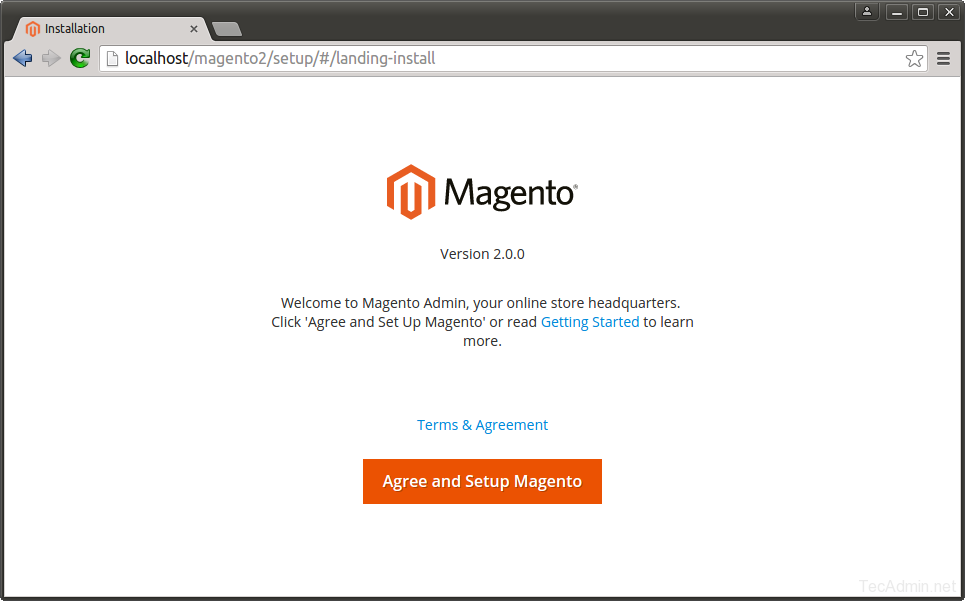
Let’s begin the installation of Magento2 using web installer. Access your magento 2 directory on web browser like below. It will redirect you to installation start page.http://localhost/magento2/4.1. Agree the License agreement and click on “Agree and Setup Magento”
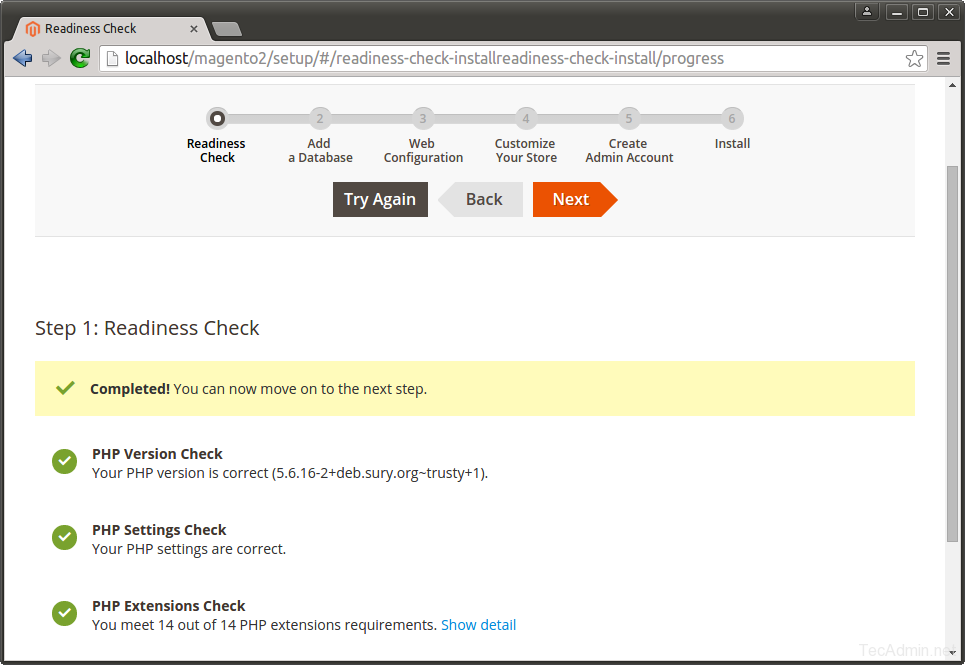
4.2. Now click on “Start Rediness Test”. Magento will check for system requirements here. On successful completion you will see screen like below then Just click Next. Fix issues if shows on this screen and click Try again.
4.3. Enter your database details here created in step 3.

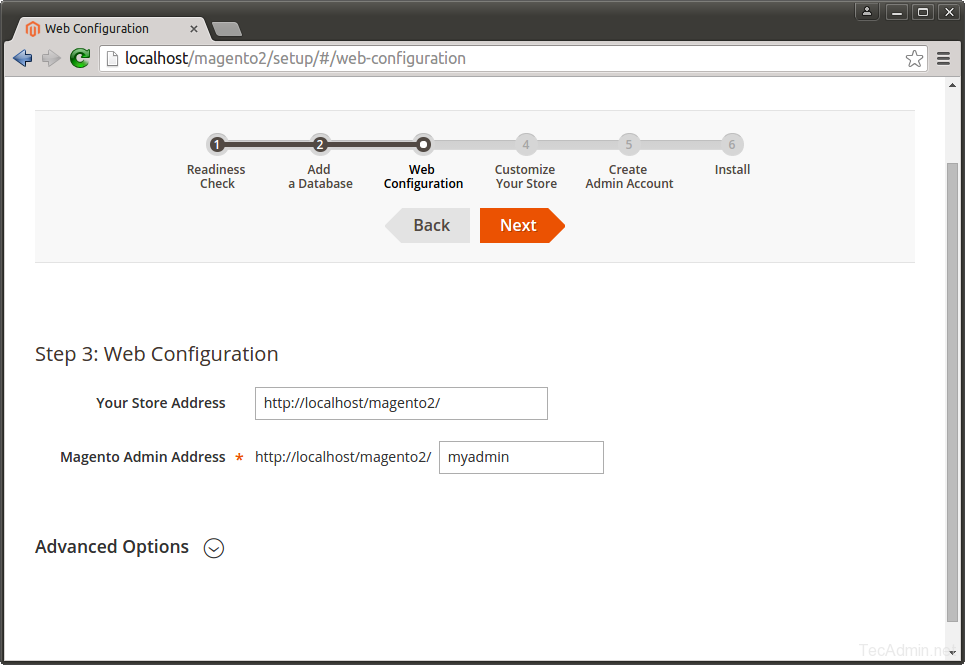
4.4. On this page configure the admin url and website url. For security reason it will not take url as admin, that’s why I used myadmin here. Now click Next.
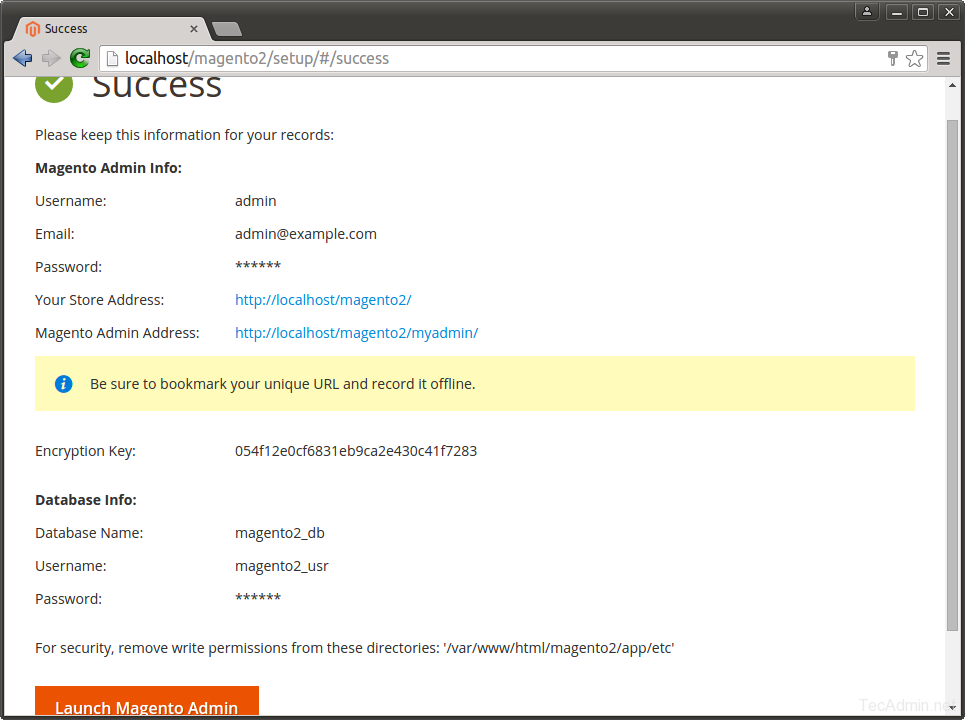
4.5. You will see a success message on this screen. Now just click on “Launch Magento Admin”
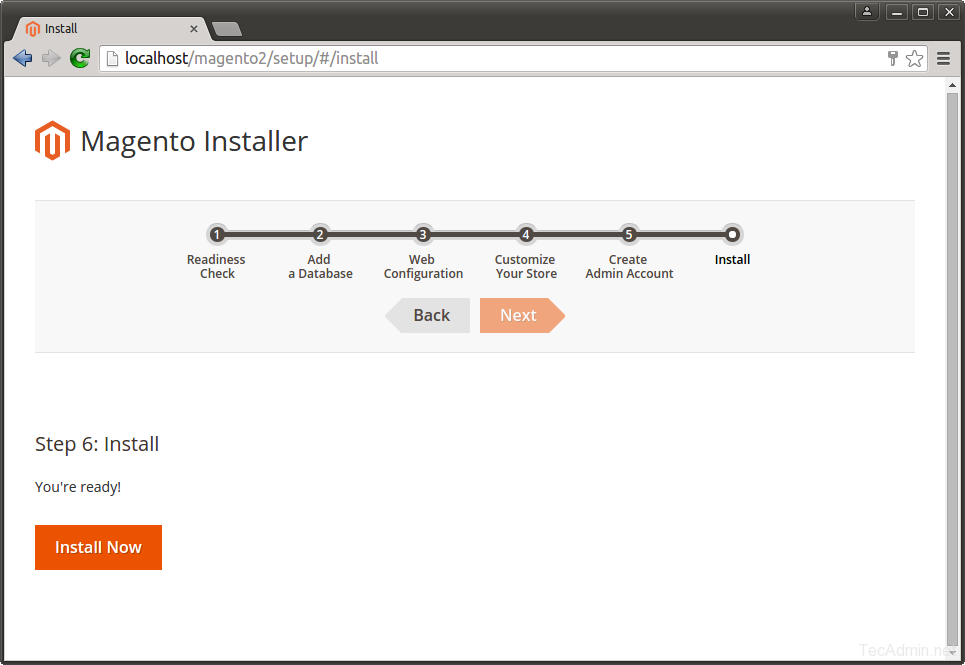
4.6. At this step Magento is ready for installation. Click on Install Now button to begin installation and wait for its completion.
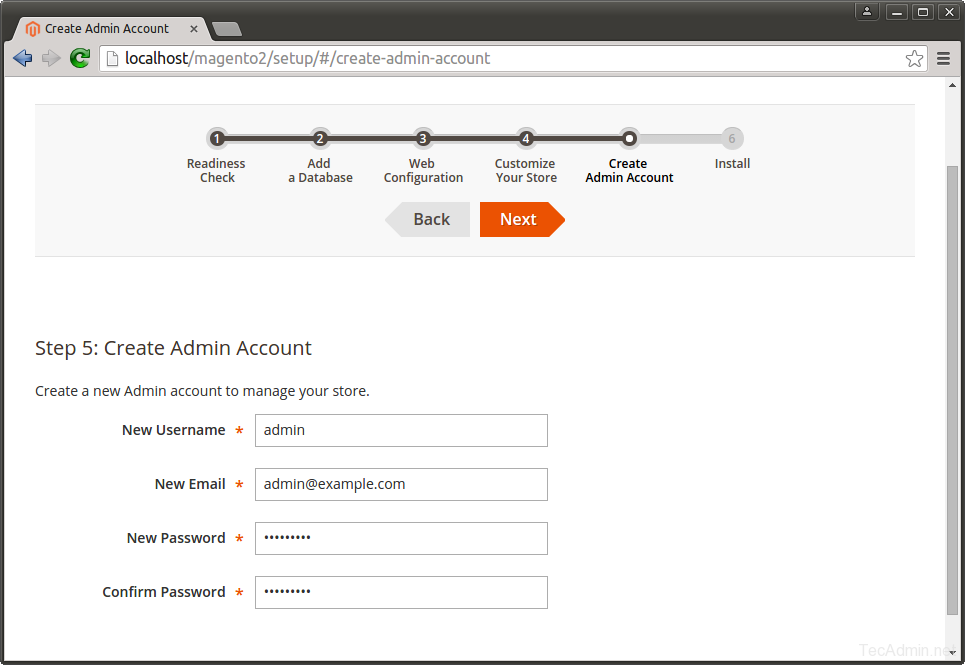
4.7. At this step Magento installation is completed. Now create an admin account for your. remember these details for admin login in future .
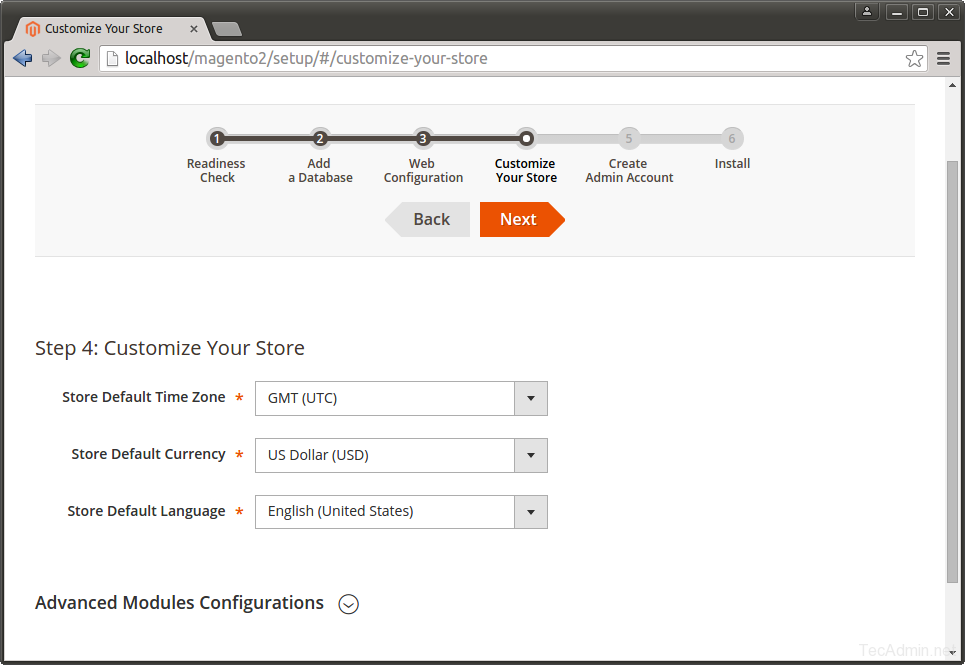
4.8. Set the prefered timezone, default currency and default language as per your requirements.
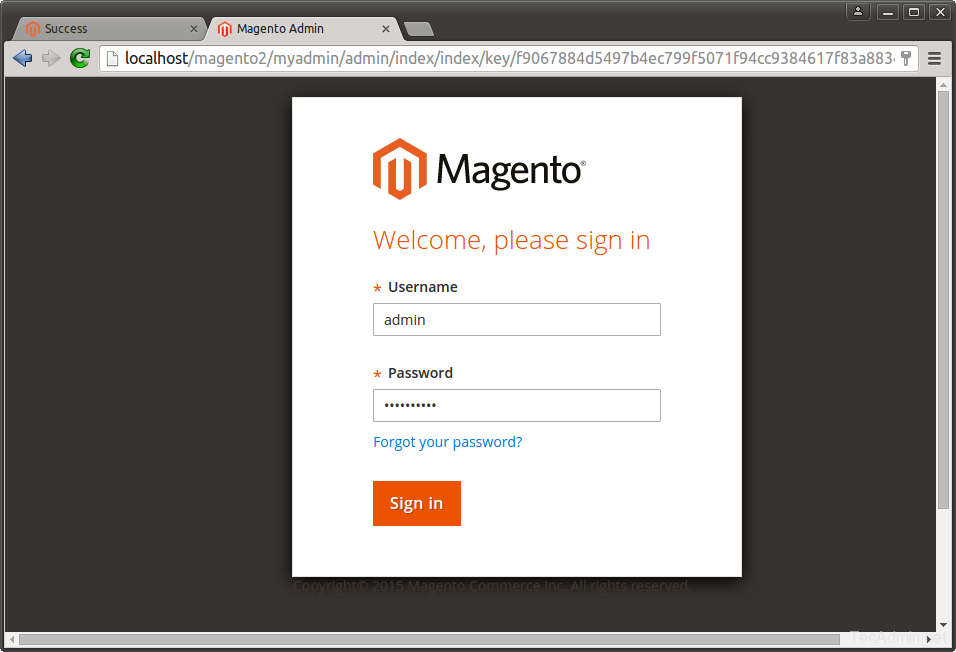
4.9. Finally it will open Admin Login screen. Use admin credentials to login on this screen. It will open Admin panel after successful authentication.
Congratulation! You have successfully deployed Magento2 on your system.
5. Schedule Magento2 Cronjobs
Finally schedule the backgound cronjobs for your magento2 installation. These cronjobs does some activities like, re-indexing, Newsletters, Update of currency rates, sending automatic emails and generating sitemaps etc. To schedule these jobs edit crontab file$ crontab -eand add following cronjobs at the end of file and save it.
*/1 * * * * www-data php /var/www/html/magento2/bin/magento cron:run */1 * * * * www-data php /var/www/html/magento2/update/cron.php */1 * * * * www-data php /var/www/html/magento2/bin/magento setup:cron:runHere www-data is the user under which Apache is running and /var/www/html/magento2/ is the location of your Magento2 applications.
Comments
Post a Comment