This article will help you for step by step setup of Subversion (svn) server on Ubuntu 16.10, 16.04 & 14.04 LTS systems.
1. Install Apache
First, you need to install Apache web server to access svn server using HTTP URLs. Skip this step if you already have Apache web server on your system.$ sudo apt-get update $ sudo apt-get install apache2
2. Install Subversion
Use the following command to install subversion packages and their dependencies. Also, install svn module for Apache libapache2-mod-svn packages on your system.$ sudo apt-get install subversion libapache2-mod-svn libapache2-svn libsvn-dev $ sudo a2enmod dav $ sudo a2enmod dav_svn $ sudo service apache2 restart
3. Configure Apache for Subversion
Subversion Apache module package creates an configuration file /etc/apache2/mods-enabled/dav_svn.conf. You just need to make necessary changes to it.Alias /svn /var/lib/svn <Location /svn> DAV svn SVNParentPath /var/lib/svn AuthType Basic AuthName "Subversion Repository" AuthUserFile /etc/apache2/dav_svn.passwd AuthUserFile Require valid-user </Location>
4. Create First SVN Repository
Use following commands to create your first svn repository with name myrepo.$ sudo mkdir -p /var/lib/svn/ $ sudo svnadmin create /var/lib/svn/myrepo $ sudo chown -R www-data:www-data /var/lib/svn $ sudo chmod -R 775 /var/lib/svn
5. Create Users for Subversion
Now create first svn user in /etc/apache2/dav_svn.passwd file. These users will use for authentication of svn repositories for checkout, commit processes.$ sudo htpasswd -cm /etc/apache2/dav_svn.passwd adminTo create additional users, use following commands.
$ sudo htpasswd -m /etc/apache2/dav_svn.passwduser1 $ sudo htpasswd -m /etc/apache2/dav_svn.passwduser2
6. Access Repository in Browser
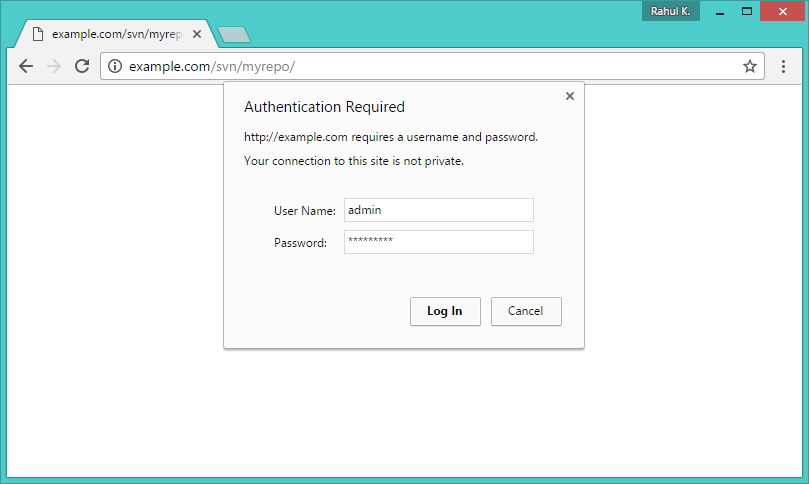
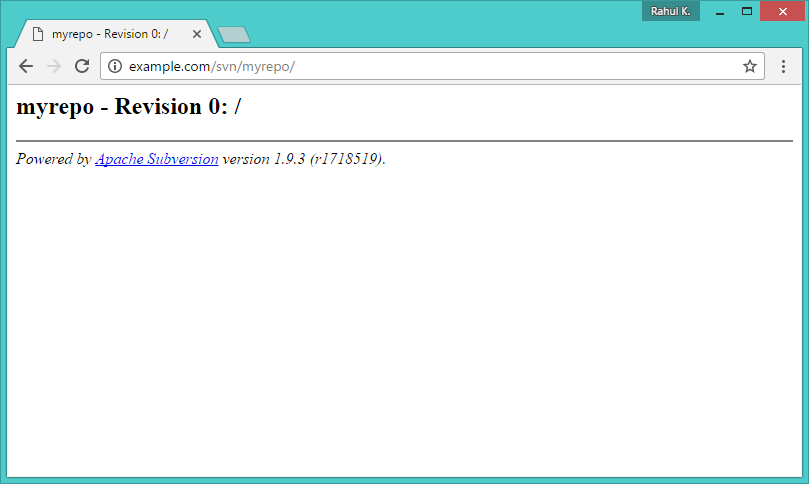
Use HTTP URLs to access your repository in the browser. It will prompt for authentication. Use login credentials created in Step 5. Change example.com with your system host name, domain name or IP address.http://example.com/svn/myrepo/


Comments
Post a Comment